
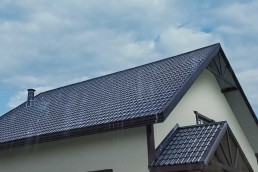
Complete Exterior: Armour Why Premium Metal Roofing and Engineered Asphalt Driveways are the Ultimate Estate Upgrades
Curb appeal is a property’s handshake. It forms…
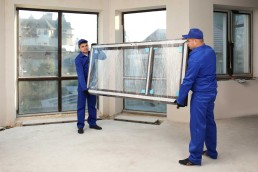
The Agent’s Advice: Why Window Replacements Top the List of High-ROI Pre-Listing Renovations
Preparing a residential property for the market…
Weatherproofing Your Investment: Fortifying Your Roofline and Windows Against Extreme Seasonal Storms
Living in Canada means experiencing some of the…

The 2026 Appraisal Gap: How Strategic Renovations Save Deals in a Cautious Market
The Canadian property market of 2026 has entered…
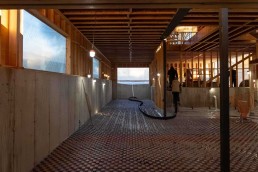
Raising the Ceiling, Lowering the Risk: The Structural Benefits of a Professional Basement Dig-Out
The urban square-footage race has reached a fever…

The Overworked Furnace: How Old Windows Shorten Your Heating System’s Lifespan
A comfortable home depends on a constant…

Eliminating "Cold Zones": How Windows and HVAC Work Together for Even Heating
In the heart of a Canadian winter, the home…

From Peak to Post: Why a Stable Foundation is Essential for a Heavy Roof
When homeowners think about structural upgrades,…

Why Drafty Windows and Poor Roof Insulation Create Cold Spots All Winter Long
Winter in Canada often brings a familiar…
